

White Chocolate Covered Oreos Made Extra Dreamy
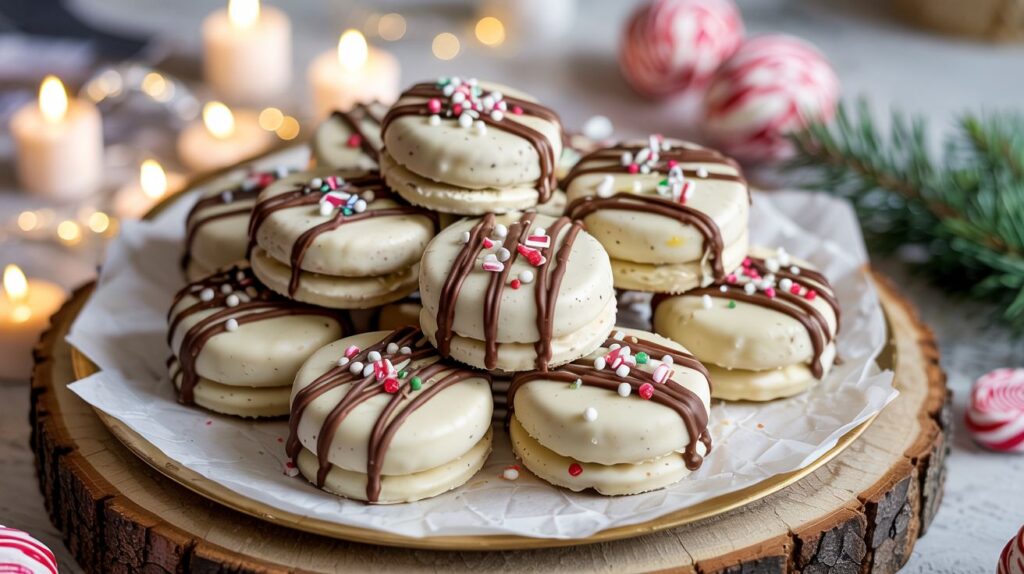
Have you ever taken a bite of something so simple yet so dreamy, it instantly felt like a celebration? That’s exactly what you get with white chocolate covered Oreos—an effortless no-bake treat that manages to be both elegant and crave-worthy. Whether you’re prepping for a holiday dessert tray, looking for a last-minute edible gift, or just want to surprise your family with a sweet snack, this recipe delivers big flavor with minimal effort.
What makes them even better? You can customize them endlessly—with sprinkles, colored chocolate, or even a drizzle of dark chocolate for contrast. It’s a perfect way to turn a classic cookie into something impressive, whether you’re hosting a party or just need a midweek pick-me-up. Let’s dive into how to make this quick, crowd-pleasing favorite at home.
Key Benefits
White chocolate covered Oreos aren’t just a treat—they’re a total game-changer in the world of easy desserts. If you’re someone who loves impressing guests without spending hours in the kitchen, this recipe is made for you.
Here’s why these dreamy cookies deserve a spot in your dessert rotation:
- No Baking Required: You don’t even need to turn on the oven. Perfect for busy days or warm-weather months when baking feels like a chore.
- Quick to Make: In under 30 minutes, you’ll have a batch of beautifully coated cookies ready to chill. They’re ideal for last-minute party prep or unexpected cravings.
- Crowd-Pleaser: Whether it’s a kid’s birthday party, a holiday gathering, or just a Netflix night, these are always a hit.
- Perfect for Gifting: Wrapped in clear bags with ribbon, these make charming and affordable homemade gifts for birthdays, baby showers, or holidays.
- Customizable: You can decorate them for any occasion—add themed sprinkles, edible glitter, or a drizzle of colored chocolate to match your event.
- Minimal Ingredients, Maximum Impact: All you need is Oreos, white chocolate, and a little creativity to transform a store-bought cookie into something extraordinary.
This recipe isn’t just about taste—it’s about simplicity, creativity, and those little moments of joy when someone takes a bite and says, “You made these?” Trust me, once you make them, they’ll become your go-to dessert hack.
Ingredients
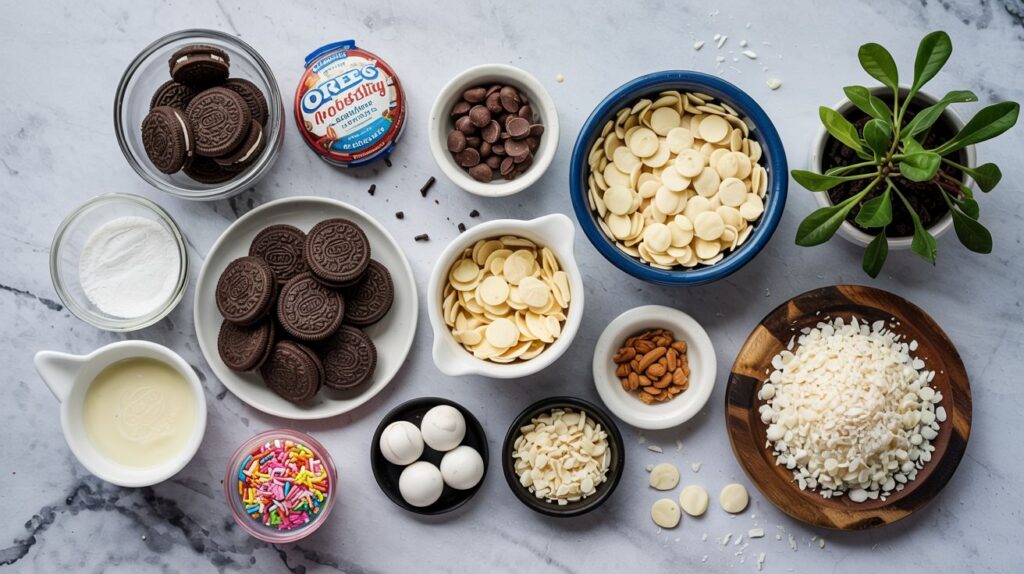
Before we dive into the dipping and decorating, let’s make sure you’ve got everything you need on hand. One of the best parts about white chocolate covered Oreos is that the ingredient list is short, sweet, and flexible.
Here’s what you’ll need:
- 1 package of Oreos (regular or Double Stuf – your choice!)
- 12 oz white chocolate chips or candy melts
Tip: White chocolate chips give a creamy finish, while candy melts offer a smoother coating for dipping. - 1 teaspoon coconut oil (optional, but helps the chocolate melt evenly and creates a glossy finish)
- Sprinkles or decorative toppings (seasonal, colorful, or themed—have fun with it!)
- Food coloring (optional, if you’d like to tint the white chocolate for holidays or events)
Optional Tools for Smoother Dipping:
- Microwave-safe bowl or double boiler
- Fork or candy dipping tool
- Parchment paper or silicone mat
- Baking tray for setting
Feel free to get creative here. Want to go vegan? Use dairy-free white chocolate and check for plant-based Oreos (yep, they exist!). Need a gluten-free version? Swap in gluten-free sandwich cookies. The beauty of this recipe is how adaptable it is to your kitchen and your cravings.
How to Make White Chocolate Covered Oreos at Home
Making these white chocolate covered Oreos is surprisingly simple—and seriously satisfying. Whether you’re a seasoned baker or just dipping your toes into the dessert world, you’ll be amazed by how easy (and fun) it is to transform a classic cookie into a decadent treat.
Step-by-Step Instructions
1. Prepare your workspace
Line a baking sheet with parchment paper or a silicone mat. This will prevent sticking and make cleanup a breeze.
2. Melt the white chocolate
Place your white chocolate chips or candy melts in a microwave-safe bowl. Microwave in 30-second intervals, stirring between each, until smooth and fully melted.
Tip: Add a teaspoon of coconut oil for a silkier texture and easier coating.
3. Dip the Oreos
Using a fork or dipping tool, gently submerge one Oreo at a time into the melted chocolate. Turn it to ensure full coverage, then lift it out and let the excess drip off.
Pro tip: Tap the fork on the side of the bowl to shake off excess chocolate for a clean finish.
4. Decorate immediately
While the coating is still wet, add your sprinkles, crushed candy, or drizzle another type of chocolate on top. This is the fun part—get creative!
5. Let them set
Place the dipped Oreos on your prepared tray and refrigerate for 10–15 minutes, or until the coating is firm and glossy.
6. Serve or store
Once set, serve immediately or store them in an airtight container at room temperature for up to a week. For longer storage, they can also be frozen.
Smooth Transition Tip:
Don’t worry if your first few cookies look a little “rustic”—they’ll still taste amazing. With each dip, you’ll get smoother and more confident. Plus, the homemade look adds charm!
This method is a foolproof way to make an impressive no-bake dessert that looks like it came straight from a bakery display case.
Pro Tips and Variations
Once you’ve mastered the basics, it’s time to take your white chocolate covered Oreos to the next level. Whether you’re customizing for a holiday, experimenting with flavor, or just adding a personal twist, this section will help you make each batch uniquely yours.
Pro Tips for Flawless Dipping
- Use a deep bowl for dipping
A deeper bowl of melted chocolate makes it easier to fully submerge each Oreo without making a mess. - Avoid overheating the chocolate
Melt slowly in short intervals and stir often. If the chocolate seizes or thickens, add a tiny bit of coconut oil to loosen it. - Let chocolate cool slightly before dipping
Hot chocolate can soften the Oreo too much. Let it cool for a minute or two to create a better coating texture. - Use a fork or dipping tool for clean lines
Gently lift each Oreo from the bowl and tap the fork against the side to remove excess chocolate and avoid puddles.
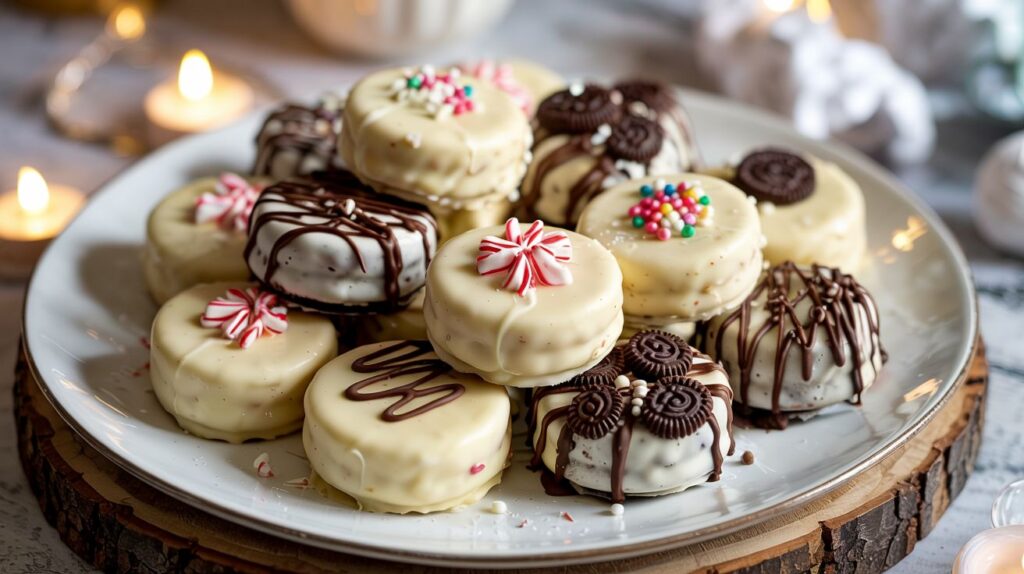
Creative Variations to Try
- Holiday-Themed:
- Use red and green sprinkles for Christmas
- Add pink drizzle or heart confetti for Valentine’s Day
- Try orange and black colors for Halloween fun
- Flavor Boosters:
- Sprinkle with crushed peppermint for a cool winter bite
- Add a pinch of sea salt or drizzle with caramel for contrast
- Use flavored candy melts like strawberry or mint
- Texture Twists:
- Press chopped nuts, toasted coconut, or mini chocolate chips on top while the coating is wet
- Roll dipped Oreos in cookie crumbs or freeze-dried fruit bits for added crunch
- Color Play:
- Mix food coloring into the white chocolate to match party themes or special occasions
- Use edible glitter or luster dust for a glam finish
- Diet-Friendly Options:
- Use gluten-free or vegan Oreos and dairy-free white chocolate to accommodate food sensitivities
Friendly Advice:
Don’t be afraid to experiment. These cookies are forgiving, and even the most “imperfect” ones end up looking charming on a plate. Plus, they make the perfect canvas for creativity—especially when little helpers are involved!
From holiday dessert trays to personal gifts, each variation adds new personality to this already crowd-pleasing favorite.
Serving Suggestions

Once your white chocolate covered Oreos are set and ready to enjoy, it’s time to think about how to serve them. Whether you’re setting up a dessert table, sharing them with friends, or simply treating yourself, here are some ideas to make these cookies even more special.
Creative Ways to Serve
- Dessert Platter:
Arrange your white chocolate covered Oreos on a beautiful platter alongside other sweet treats like brownies, cake pops, or mini cupcakes. The contrast of textures and colors will create a visually stunning spread. - Coffee or Milk Pairing:
For the perfect cozy snack, pair these Oreos with a cup of coffee, hot chocolate, or cold milk. The creamy white chocolate and crunchy Oreo filling make a delicious match with any of these classic beverages. - Gift Giving:
Wrap a few cookies in clear cellophane bags tied with a ribbon for a homemade gift that’s perfect for birthdays, holidays, or special occasions. Personalize the treat bags with tags or stickers for an extra touch of thoughtfulness. - Party Favors:
These white chocolate covered Oreos are ideal as party favors. Whether you’re hosting a bridal shower, baby shower, or birthday party, these little treats will be a sweet takeaway for guests. - Themed Desserts:
If you’re making these cookies for a specific celebration, get creative with the theme. For example, for a Valentine’s Day party, use red and pink sprinkles, or for a summer gathering, try pastel colors and tropical-themed toppings.
Presentation Tips
- Tiered Dessert Stand:
Display the cookies on a tiered cake stand for an elegant look that’s perfect for gatherings or special occasions. - Chilled Serving:
If you’ve stored your cookies in the fridge or freezer, serve them chilled for an extra refreshing treat, especially on hot days.
Storage Tips
If you have any leftovers (though that’s unlikely!), here’s how to keep them fresh:
- Store the cookies in an airtight container at room temperature for up to a week.
- For longer storage, you can freeze them. Just place the cookies in a single layer on a baking sheet, freeze for a couple of hours, and then transfer them to a freezer-safe bag or container. They’ll stay fresh for up to a month!
These white chocolate covered Oreos are versatile enough for any occasion, and with a little creativity, you can make them the star of your next gathering or personal indulgence.
Conclusion
White chocolate covered Oreos are the perfect combination of simple and decadent, making them an easy yet impressive treat for any occasion. Whether you’re making them for a special event or just to satisfy a sweet craving, these cookies are sure to delight everyone who tries them.
With minimal ingredients, no baking, and endless ways to customize, you can easily make these treats your own. The process is quick, and with a little creativity, you can make them visually stunning and irresistibly delicious. Plus, they’re perfect for gifting, serving at parties, or enjoying with your favorite beverage.
So, grab your Oreos, melt your white chocolate, and get ready to make a batch of dreamy, melt-in-your-mouth cookies that will have everyone asking for the recipe. No matter the occasion, these cookies are bound to be a hit—enjoy every bite!
FAQs
Can I use dark or milk chocolate instead of white chocolate?
Absolutely! While white chocolate gives these Oreos a creamy, sweet finish, you can easily swap it out for dark or milk chocolate for a different flavor profile. Dark chocolate adds a richer, slightly bitter taste, while milk chocolate offers a smooth, classic sweetness. Just make sure to adjust your melting method, as different chocolates have varying melting points.
Can I make these ahead of time?
Yes, these white chocolate covered Oreos can be made ahead of time. Once they’re set, store them in an airtight container at room temperature for up to a week, or in the fridge for up to two weeks. If you want to keep them longer, freezing them is a great option—they’ll stay fresh for up to a month in the freezer.
Can I use other cookies besides Oreos?
Definitely! While Oreos are a classic choice, you can experiment with other sandwich cookies or even homemade cookies. Just make sure the cookie has a similar structure so it holds up well when dipped in chocolate.
How do I store leftover chocolate?
If you have extra melted chocolate after dipping the Oreos, don’t toss it out! You can store it in an airtight container at room temperature for a few days. Alternatively, pour it into ice cube trays and freeze it for later use in other recipes like brownies, cookies, or chocolate bark.
Can I add fillings or mix-ins to the white chocolate?
Yes! You can mix in crushed candies, nuts, or dried fruits into the melted chocolate for an added texture and flavor. Try crushed peppermint for a festive touch or a sprinkle of sea salt for a delightful sweet-salty combo.
Can I make these gluten-free or vegan?
Yes, you can! To make them gluten-free, simply use gluten-free Oreos, and for a vegan version, choose dairy-free white chocolate and make sure the cookies are dairy-free as well.
Can I color the white chocolate for a special occasion?
Absolutely! You can add food coloring to the melted white chocolate for a fun and festive twist. Just be sure to use oil-based food coloring for the best results, as water-based food coloring can cause the chocolate to seize up.
If you have any other questions, don’t hesitate to reach out! Making these white chocolate covered Oreos is a fun and customizable process, and we’re here to help make sure your experience is as sweet as the treats themselves. Enjoy!
White Chocolate Covered Oreos Recipe Recap
Recipe Details:
- Prep Time: 15 minutes
- Cook Time: 0 minutes
- Total Time: 15 minutes (plus refrigeration time)
- Servings: 20–24 cookies (depending on the size of your Oreos)
- Calories: Approx. 160–180 per cookie (varies with toppings and chocolate used)
Nutrition Information (per serving):
- Calories: 160–180
- Fat: 9g
- Saturated Fat: 5g
- Carbohydrates: 21g
- Sugar: 18g
- Protein: 1g
- Cholesterol: 5mg
- Sodium: 30mg
- Fiber: 1g
- Vitamin A: 2%
- Calcium: 2%
- Iron: 2%
Categorize the Recipe:
- Course: Dessert, Snack
- Cuisine: American
- Diet: Vegetarian, Gluten-Free (with adjustments)
- Method: No-Bake, Dipping
- Keyword: White Chocolate Covered Oreos, Easy Dessert, No-Bake Treats, Oreo Recipes
- Skill Level: Beginner
This White Chocolate Covered Oreos recipe is a sweet, simple, and satisfying treat that’s perfect for any occasion. From holiday parties to casual snacks, these cookies are a hit! With just a few basic ingredients and minimal effort, you can make these decadent delights and enjoy them in no time.